


Build a Travel Diary App With MERN Stack Tutorial EP2 : Setting up the backend for user authentication
We are building the backend for user authentication


Alright we finished setting up the server and the MongoDB database last week, so it's fair for us now to work with routes to handle requests as we send information from the frontend to the backend. We will be building three APIs for this project which are authApi which will be responsible for user authentication , diaryApi which would be responsible to handle retrieving and posting travel diaries and finally adminAPI which would be responsible on managing the user data and their posts, sort of like a God Mode. But on this article we will be just focusing on authApi. So, now let's dive in into the steps.
Step 1 : Create a new file under the name authApi.js in the routes folder.
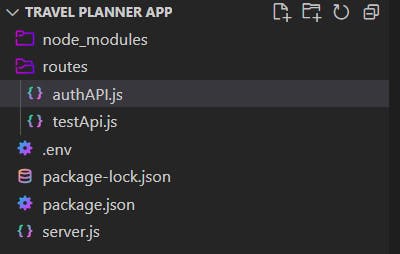
Step 2 : In server.js file, in the routes section add this lines of code to initiate the authApi.js file.
//routes
app.use('/api/test' , require('./routes/testApi'));
app.use('/api/auth',require('./routes/authAPI'));
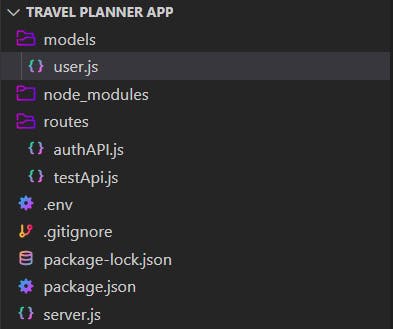
Step 3: Now let's take a look at what type of authentication we are trying to create. We are trying to build a username and password based authentication for the user. So, let's start building it. But before we jump into coding the auth APi file, we need to set up an User model, which would be responsible to indicate the information that we can save and retrieve for the user in the database. As we know we will be doing a username and password authentication, we will save the information username, phone number, password and email in the database. So as the first process let's create a model folder and create a user.js file.
Then, add this lines of code in user.js.
const mongoose = require('mongoose');

const userSchema = new mongoose.Schema({
    name: {type: String, required: true},
    email: {type: String},
    password: {type: String, required: true},
    number : {type: String, required: true}
});

const User = mongoose.model('User',userSchema);

module.exports = User;
As you can see, this code has 4 variables setup in it which is name, email, password and number but there is one thing different for email, it is missing required: true. This means email can be optional, so we can allow the user to opt out giving us their email address information but they have to give us name , password and phone number when they create their account. The next thing you might notice is the type: String which basically means we can save alphabets and numbers for all these information.
Step 4: Next, let's install the jsonwebtoken node modules that we will be using to authenticate the user.
npm i jsonwebtoken
Step 5: And now, we can focus completely on our authApi. We will create two POST requests. First, will be /checkUser which is responsible to check if a user is a new user or an existing user. Second, will be /register which is responsible for creating the new user. Add this lines of code into your authApi.js file.
require("dotenv").config();
const express = require('express');
const jwt = require('jsonwebtoken');
const User = require('../models/user');

const router = express.Router();

router.post('/checkUser' , (req , res) => {
    const name = req.body.username;
    const password = req.body.password;
    console.log(req.body);
    User.findOne({name}, (err, usr) => {
        if(err) {
            console.error(err)
            return res.status(400).json({error : "Connection Error. Please check your network connection."});
        }
        if(usr) {
            if(usr.password==password){
                jwt.sign({id : usr._id} , process.env.JWT_SECRET , (err , token) => {
                    if (err) {
                        console.log("Error on signing token");
                        return console.log(err);
                    }
                    console.log(token);

                    const data = {
                        token,
                        user : usr
                    };
                    return res.status(200).json({status: "Success", data });
                });
            } else {
                return res.status(400).json({error : "Password is incorrect."});
            }
        } else {
            console.log('New User')
            return res.status(200).json({identity : "NEW"});
        }
    })
})

router.post('/register' , (req , res) => {
    const {number, email, name,password} = req.body
    const max = 9999;
    const min = 1111;
    User.findOne({number}, (err, usr) => {
        if(err) {
            console.error(err)
            return res.status(400).json({error : "Connection Error. Please check your network connection."});
        }
        if(usr) {
            console.log('already registered')
            return res.status(400).json({error: "You have been registered before. Please head to login page."})
        }
        const newUser = {
            number,
            email,
            name,
            password
        }
        console.log(newUser)
        User.create(newUser, function(err, mynu) {
            if(err) {
                console.log(err)
                return res.status(400).json({error : "Connection Error. Please check your network connection."});
            }
            jwt.sign({id : usr._id} , process.env.JWT_SECRET , (err , token) => {
                if (err) {
                    console.log("Error on signing token");
                    return console.log(err);
                }
                console.log(token);

                const data = {
                    token,
                    user : usr
                };
                return res.status(200).json({status: "Success", data });
            });
        })
    })
})


module.exports = router;
Let's try to understand the code now.
Inside the /checkuser , we are receiving two things in the req.body which is username and password. Then, we check for the username in the database using findOne , which mean it finds for one specific information that relates to the query we pass in the findOne, if we find the username in the database, we check for the password to match with the user's password saved in the database. If the password matches, we sign in the user with a jwt token, if not we return an error. If we don't find the user in the database, we return an identity new , where we can use this response to redirect the user to the register page. We will see how to do this next week.
Inside the /register, we receive four information which is phone number, email, username and password. We would first perform a check for preregistered users because users might try registering themselves thinking they are new user but actually they probably have registered before. If the user is registered, we return a error. If not, we continue with creating a new user and when it completes we sign in the user with a jwt token. So, that's it and we have completed the backend for user authentication. Next week, we can start with some UI for user login and registration page, and very soon we will be moving to the core of adding new travel journals and viewing those journals.